
Eggless Red Velvet Crinkle Cookies

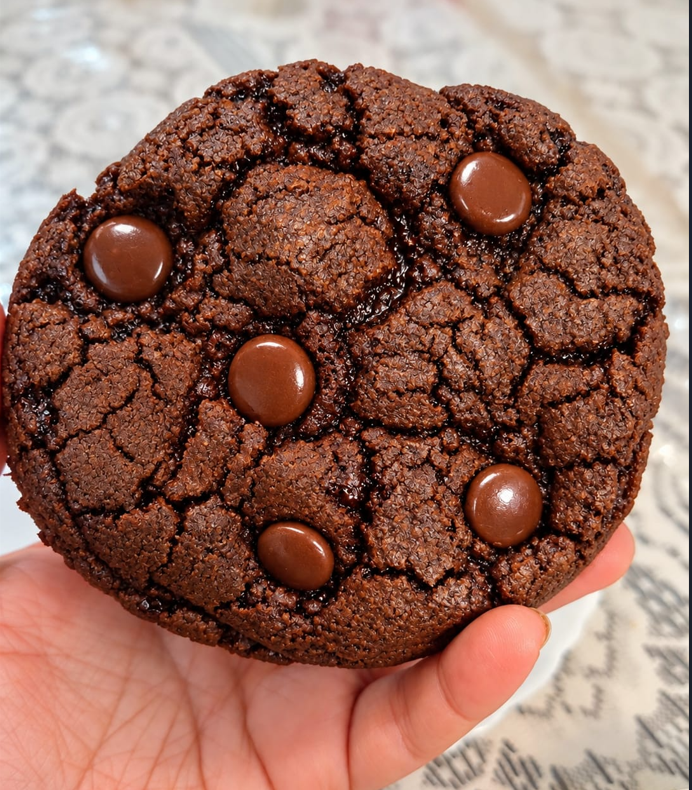
Eggless Red Velvet Crinkle Cookies are incredible they are delicious and a breeze to make. I love how simple this recipe is and I love the fact that it’s a small batch. If you want to double the quantity, you can. It’s fudgy and crisp on the outside. They are the best cookies in the world. I am not known for my patience, so these are perfect. I can wait for these cookies for 45 minutes so that’s huge. I can’t wait for nothing to cool down or freeze or chill or mature so waiting for this is huge. If you want it you need to wait for it.
These vibrant red cookies are not only a treat for the taste buds but also a feast for the eyes. Their rich cocoa flavor is perfectly balanced with a subtle tanginess, making them an irresistible snack for any time of day.
🧁 Ingredients Checklist
- Butter 30 gm
- Sugar 60 gm
- Light Brown Sugar 15 gm
- Vanilla 1 teaspoon
- White vinegar 1/4teaspoon
- Red Color Gel 1 teaspoon
- All-purpose Flour 75 gm
- Cocoa Powder 1 tablespoon
- Baking Powder 1/2 teaspoon
- Baking Soda 1/8 teaspoon
- Salt pinch
- Flax Seed Egg 2 tablespoon
- Icing Sugar 30 gm
👩🍳 Baking Instructions
- In a bowl beat butter, and sugars until fluffy then add the flaxseed egg and beat until well combined.
- Add vanilla, vinegar, and red food color beating well. In a bowl whisk together flour, baking soda, baking powder, and salt. Slowly add the flour mixture to the butter mixture and mix till a dough is formed
- Now take a tablespoon of the dough scoop them on prepared sheets and chill in the refrigerator for 45 minutes. Preheat oven to 350 °F place icing sugar in bowl and toss each dough ball in the icing sugar until fully coated.
- Flatten the cookies and keep them a little apart on the baking sheets. Bake Enjoy! Centers of cookies are set to take 6 to 7 minutes. Let it cool completely on a wire rack. Enjoy!



Reader Feedback & Reviews (0)